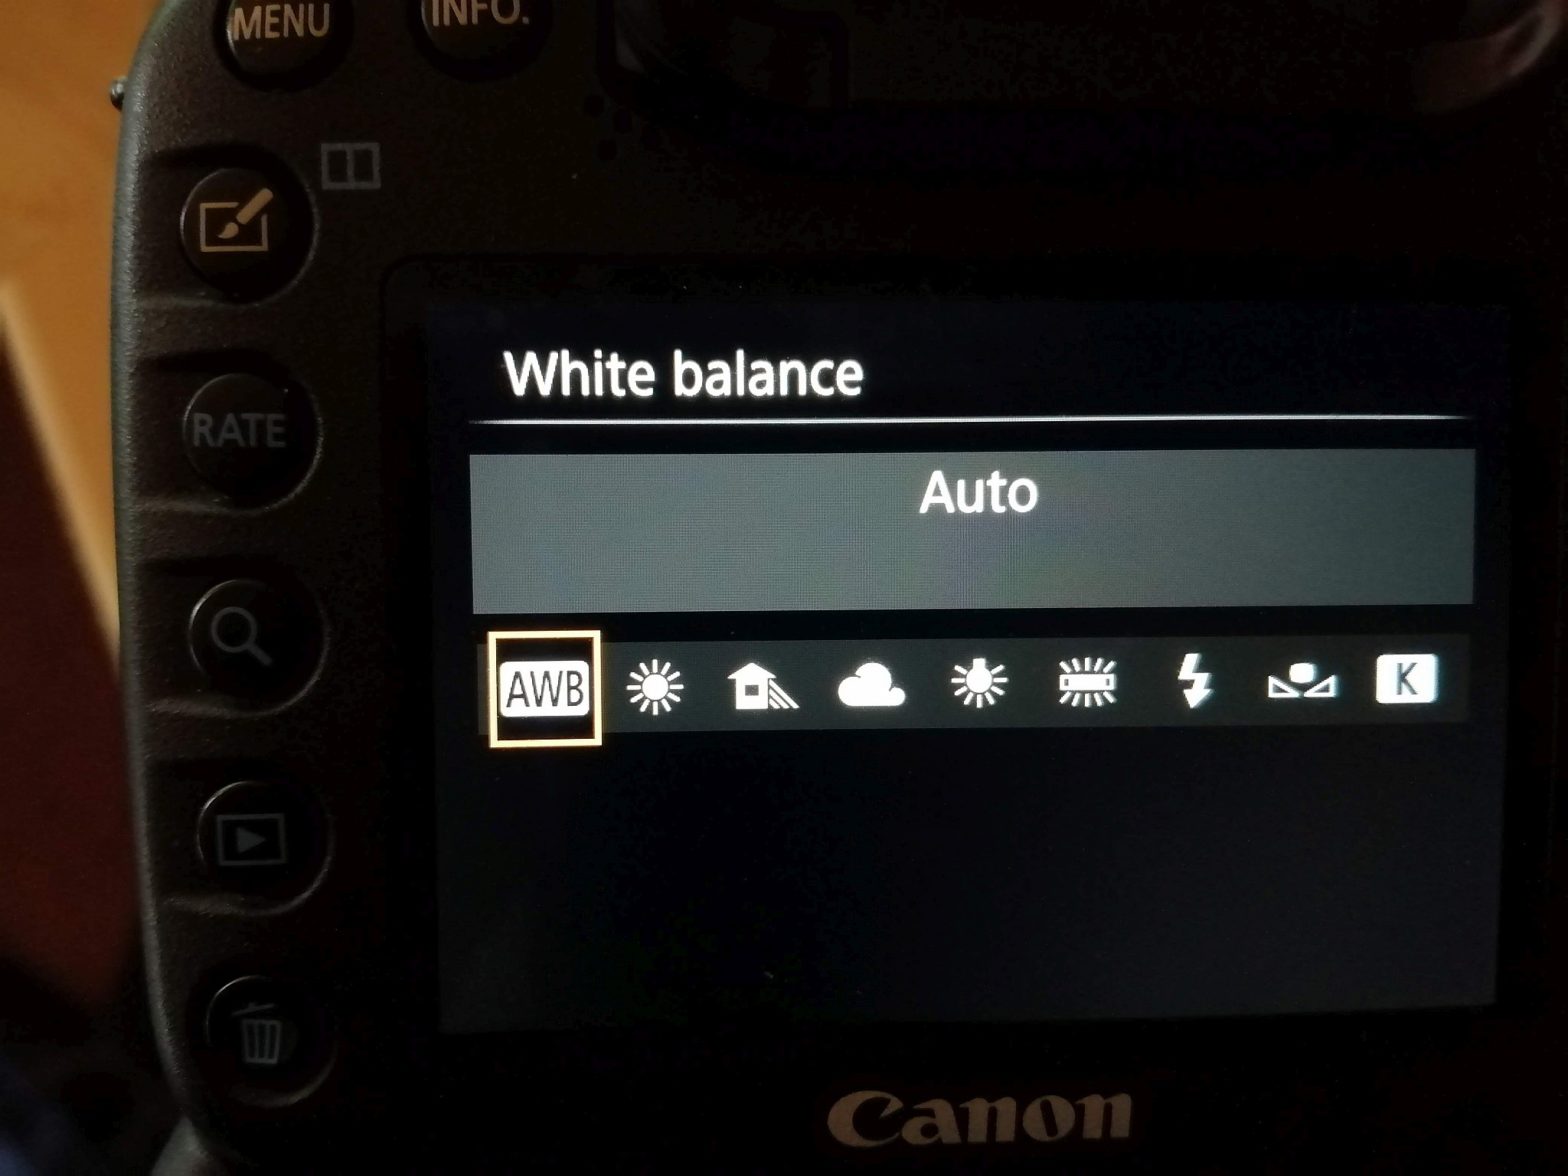
Cameras normally do a good job of setting white balance but how “good” this is depends on what kind of image you want. White balance can be adjusted to cope with tungsten lighting (I hope no one has any of those left), fluorescent, flash, daylight, shade, cloudy etc. and in these circumstances the results can be ok.
But as I said above “it depends”. You might not want bright whites to show as bright whites in your photo, you might want to show them a little warmer. Let’s say you are at a gig and the lighting is coloured in a much more extreme way than using tungsten lighting. If the lighting is red then it is likely that the image you get will be red. But how red should it be? Do you want white to show as white or do you want it to be red? We already know that the camera can adjust the image so that white appears white irrespective of orange light from tungsten bulbs or the blue light of a flash. But at the gig we may want to keep the red lighting in the image, and in fact the camera does not adjust white balance in those situations to show white as white.
One situation where auto white balance in camera gives results where whites are no longer white is at night under street lighting.

The photo above (taken from Brook Hill, Baildon in November 2010!!) is the RAW file exported as a JPEG with no additional processing done to it. The white balance, sharpness, contrast, saturation and tone are based on the camera settings: auto white balance, standard picture style. Auto exposure was also used – 2s at f:3.5. ISO800. EF-S 18-55mm kit lens at 18mm.

To produce this image I loaded the RAW file into darktable and selected an area of snow in the foreground to set the white balance. I know snow is white. It has created a very different photo.
In this example we have an area that we know is white. Not all subjects have something that you know is white. In these circumstances you can add something to the shot that is white or take a photo of something white and apply the settings from that to shots taken with the same lighting. This can be done in camera or later by applying the same white balance to all images.
The sharp eyed of you may notice a couple of other changes. I told the software to apply changes based on the lens I used. This brightened the corners of the image to counteract the vignette from using f:3.5 with that lens. It also tweaked the image to counteract the distortion to shapes introduced by the lens.
If you shoot in RAW then there is usually an embedded JPEG contained within the file. The JPEG will be saved after applying the camera settings of resolution, white balance, picture style etc. The picture style will apply levels of sharpness, contrast, saturation, and color tone dependent on which style has been selected.
When viewing the RAW file what you see can depend on what software you are using. Most viewing software will simply display the embedded JPEG. Editing software will apply all the adjustments recorded in the RAW file, or an associated sidecar file, before displaying it. If it is the first time viewing the file it may look similar to the embedded JPEG – it depends on what the software is programmed to do. All are acceptable ways of doing it as long as you know which way it works. It can be surprising to set the camera to black and white, or monochrome, yet when working on the RAW file later all colours are still available to work with. The editing software lets you adjust the white balance, sharpness, contrast, saturation and tone. These adjustments are applied to the RAW data before displaying the image.
Once all the edits have been made it is usual to export a JPEG that then locks in all the changes and is a much smaller file. As part of the editing process it is acceptable to create staging images that lock in changes so that heavy processing doesn’t have to be done every time a tweak is made. This may involve exporting to a DNG RAW file or a TIFF that does not apply the lossy compression used in JPEG.
